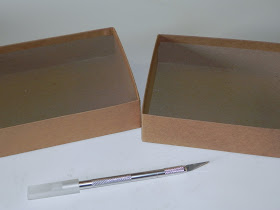
I have about a million of these boxes and I'm always looking for way to put them to use. I came across some directions on a blog that I could actually follow and i have to say, I love how it came out.
Take two box bottoms and cut off a long side from each.
These will be the left and right sides of your main box, with the open end facing forward.
Take the pieces you just cut off and cut each in half width-wise. These will be your 'drawer runners'.
Start from the bottom of one side box, and use a box bottom as a guide. Use duck tape to firmly secure one and then two cardboard strips in place.
Repeat for the other box, and make sure that they line up properly. I did my runners kind of weird, I wanted each side different so the drawers would be sure to rest easily. This is a matter of preference, and you could do them any way you want!
Now it's time to construct the rest! Take a box top and cut off a long end. This is now going to be the main box's bottom, with the open end facing front.
Take another box top and cut off all the sides. This will cover up the opening in the main box's back. Grab another box top and leave it untouched. Time to assemble!
I used more duck tape to hold the back in place, as well as to secure the two sides to the box bottom. This is the back view.
And this is the front view. Coming together nicely! Time to make drawers.
Grab your xacto knife and make a small incision in a box bottom's front center. Insert both ends of the ribbon, leaving a loop outside.
Tie the two ribbon ends together and knot them, then trim the ends. Repeat two more times for the two other drawers.
And here's the finished product! Granted, it's a little wobbly. But hey! I think it's absolutely fabulous! My daughter already wants me to make one for her. (And I seriously have enough boxes to make at least 2 more!)
Let me know if you make this! I'd love to see how yours turns out!
credits: http://www.smartnsnazzy.com/2012/06/diy-upcycled-birchbox-makeup-box.html?m=1


Great Idea, xo!
ReplyDeletewww.klimver.blogspot.com